Showing posts with label embroidery. Show all posts

Monday, January 23, 2012

Art Therapy


My family received some very sad news on Friday, and after spending a lot of time crying and talking it out, I had this fire in me that talking and crying weren't really going to solve any problems, and that I needed to DO something.  When someone is in crisis, it feels good to feel like you're helping in a small way.  Somehow it makes you feel just a little less helpless.  But it took me a while to figure out what exactly I was going to do.  Most times, I make a meal for a family in need, but I knew that wouldn't be a good fit in this situation, and that there was plenty of times to make meals later on.  It wasn't until Mike reminded me that we all just have to take things one day at a time, one step at a time, that I knew what I wanted to do.  I sewed this up last night, and there so much love, so much hope, in every stitch.  I hope it lifts the recipient's heart just the tiniest bit and she will know how much I love her.


-Amy

Wednesday, January 4, 2012

Embroidery Hoop Art


If I had any extra money at all, money that didn't have some designated place to go, I would spend it all on art.  Paintings, sketches, photography, sculpture, installations, whatever -- I love it all! I think that is why I enjoy sewing and crafting so much, because, while I don't have the skills to be a fine artist, I can create things within my limited abilities.


Recently, I ran across an art project that truly inspired me.  365 Lucky Days (above) is a blog put together by a woman who wants to create a piece of art every day, specifically embroidery art.  Her designs and skill are breathtaking, and her use of mixed-media within her hoops, truly inspires me.  Lucky is an amazing artist!


Doe-c-doe is also a fellow embroiderer.  I love to see how she utilizes fabric to create an actual backdrop for what she wants to write.  In fact, embroidered words are my favorite type of embroidery.


Images via Pinterest


Hoops can be used to showcase fabric and hung on the walls in a beautiful grouping.  Keep your eye out for hoops at thrift stores, because this would be a very inexpensive way to fill a wall, using thrifted hoops and scraps of fabric left over from other projects.


 I found this simple project at Freckled Nest, which displays some beautiful buttons.


 I made this little guy for my sister and her husband for Christmas.  Selfishly, I wanted to remind them of their Oregon home -- a not-so-subtle hint from me that I would be much happier if they didn't live so far away.  While I hand-stitched this one, I made a matching set for my brother (Oregon and North Carolina) and his wife, and I sewed the states down with my sewing machine (the feed dogs were turned off).  Both turned out great.  I also made a teeny-tiny Oregon for my father's office at the Tillamook Cheese Factory. 

I can't wait to make more of these.


-Amy

Tuesday, November 29, 2011

Felt Bird Ornament (Finishing Up)


We're almost to our finished ornament!  Our next step is to cut out the body of the bird and attach our wing.


Trace your stencil onto your contrast color of felt.


And then trace onto your white or cream felt.


Cut them both out.  If you like to use pinking sheers, don't bother tracing the contrast and just place your white felt on top of the contrast (be smart, and pin -- don't follow my example) and then cut out your shape.  This way your cutting will match up.


Pin your wing to the front of the bird and then stitch a black french knot for the eye.  Only stitch through the front side for the eye and the wing (I took this picture holding the back on).


Using a color thread of your choice, stitch around the wing to attach it.


Here is a view of the backside.


The next step is to attach the contrast felt to the front of the bird.  Stitch around the edges and then leave an opening to stuff in a little stuffing.  My bird looks like he has some fuzz coming out of his bottom.  When your bird is lightly stuffed (I prefer just a small amount), finish stitching him up.


Sew a string to the top so that it can hang.  You will have to play around with the placement of your string, as the bird's center of gravity is not in the middle, but more towards his head.


You're done!  Now that you are felt embroidery experts, you might want to try a few more Christmas ornaments.


                    A Grumpy Bear and a Christmas Ball.


Your child's hand.  I actually made several of these for my kids, friends' kids and my nephew.  Have fun with your new skill!

Tuesday, November 22, 2011

Felt Bird Ornament (Wings First)


The first thing you are going to need to do is make your stencil.  I hand drew mine on the thin cardboard of cereal box.  You can use a google image for inspiration or just free-hand it.  You then want to draw a wing in the middle of the bird.  Cut along the outside of the bird, and then cut out the wing.


For this project, and most other embroidery project, I rely on my trusty water-soluble sewing pen to draw my outlines.  Don't mind the cap that is missing from the purple ink side (I think the kids got to it).  I never use that end, anyway, as it always seems to disappear before I am finished with my project.  The blue ink will rinse away with water very easily after you are done stitching.  Sometimes I will just wipe it with a damp washcloth to remove the ink.


Pull out your wool felt.  You could really do any color.  I just like white or cream.  A red one would be really pretty.  Trace your wing onto your felt -- I like to do several at a time.  I am able to fit three wings on this 6"x6" square.


Then draw your design motif inside your wing.  This will be your pattern to follow.  It is difficult to see my pen markings (and my felt isn't really brownish, but I increased the contrast to make the lines stand out a bit more), so I drew some out on a piece of paper so you could get some ideas.


This is your chance to be creative.  Anything goes!  The holly and berries on the second leaf down is a pattern that I never draw ahead of time.  You'll see how I do it in a bit.


Start stitching.  I started with the straight stitch (or backstitch) to do the scroll.


I also realized that I had never shown you how to tie off when you run out of thread.  I tuck my needle under a thread in the back and then split the leftover string in half and then tie a knot, twice.  Clip your thread down to the knot.


For the scroll pattern I then stitch an outline around the wing using a raised or split stitch.


Here is my second one.  I am going to do french knots in groups of three to make little holly berries.


Then I will use my petal stitch to make leaves to either side of the berries.


Using pinking shears (you can use regular scissors, but I really like how pinking shears make it look), cut out your wings.  You are now ready to attach your wing to the bird.

In a couple days I will show you the next step.  Please let me know in the comments if I have left anything out or if you have any questions.

Tuesday, November 15, 2011

Embroidery is Fun! (Part 3)


This is my last post on embroidery stitches, and I hope I'm not boring you yet or overwhelming you with photos.  You can see, from each of my pictures that I have shared that I am not an expert stitcher.  And that is really the best thing about embroidery -- it doesn't have to be perfect to look good.  In fact, I think the more "handmade" it looks, the better.  Do not be intimidated by this!


Our last two stitches are variations of the Lazy Daisy.  The first one I will demonstrate is how you can make petal shapes.  I used six threads for this one, so thread your needle and tie a knot on the end.  Then bring your thread up through the back side.


You are going to make a loop by going back down into or right next to the same space where your needle came up.  Slowly pull the thread through until only a small loop is on top.


Put your needle back up, inside the loop, about a quarter inch from where you started.  Pull the thread tight.  Your loop will catch on the stitch and will not go through.


Put your needle down just to the other side of the top of the loop.  This will tack it in place.


Go around a circle, repeating the same steps to create a flower.  You can make as many petals as you want.  You've now made your "daisy".
 

Okay, now let's make a Daisy Chain.  It is very similar.  First, make your loop.


Come up through the middle of the loop, like you did for your petal, but instead of tacking it down on the other side, you are going to make another loop.


Put your needle back down where you came up in the loop (or right next to it). Pull your thread through, and then putting your needle up through your next loop.


Continue until you have created your chain.  When you are finished, just tack the last loop down like the petals.  You can see this in the picture below.


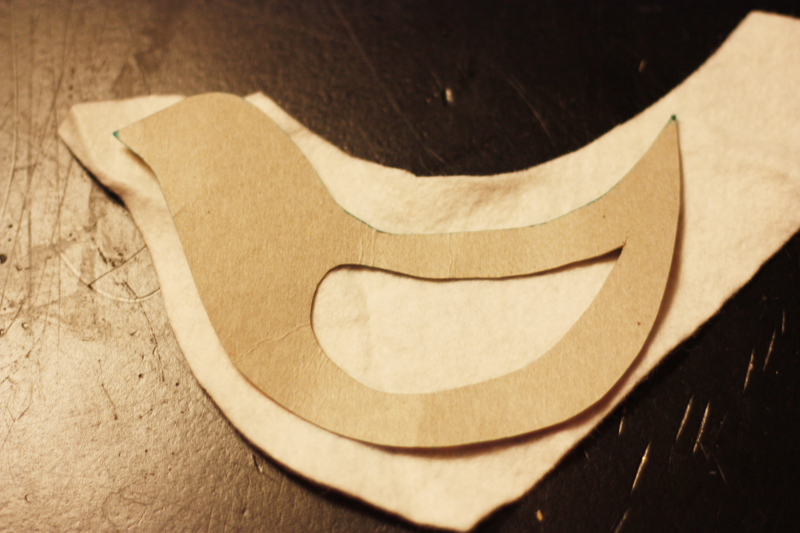
Thanks for sticking with me through these embroidery tutorials.  You are now ready to start on any simple project.  Next week I'm going to show you how to make an embroidered felt Christmas ornament.  How would you like to learn to make these?


 -Amy

Friday, November 11, 2011

Embroidery is Fun! (Part 2)


Mastering French Knots is possibly the most difficult part of embroidery.  They aren't really hard to do, but they do require a few steps, and sometimes, even when you do everything right, they don't turn out perfect.  As intimidating as they are, French Knots make a big impact and really can make a big difference in a project.


For this stitch, we will be using all six threads, with a knot on the end.  Knot your thread, thread your needle, and then pull it up through the back, as seen above.


Next, while holding your needle, tightly wrap your thread around your needle tip three times (you can also do it two times for a smaller knot).


While continuing to hold your thread that you just wrapped around the needle, push your needle back down into your fabric, just to the side of where you came up.


Reach underneath and pull the needle through, while continuing to hold the thread taught.


Gently continue to pull until all of the thread is pulled through and you have a knot.  This is a stitch to practice and practice (like I did in the first picture).  I embedded the video below, so you can see a video tutorial from someone who is probably much more skilled than me.


 I have two more stitches to show you and then we will be ready to start our project!  I can't wait!
-Amy