

We're almost to our finished ornament! Our next step is to cut out the body of the bird and attach our wing.

Trace your stencil onto your contrast color of felt.
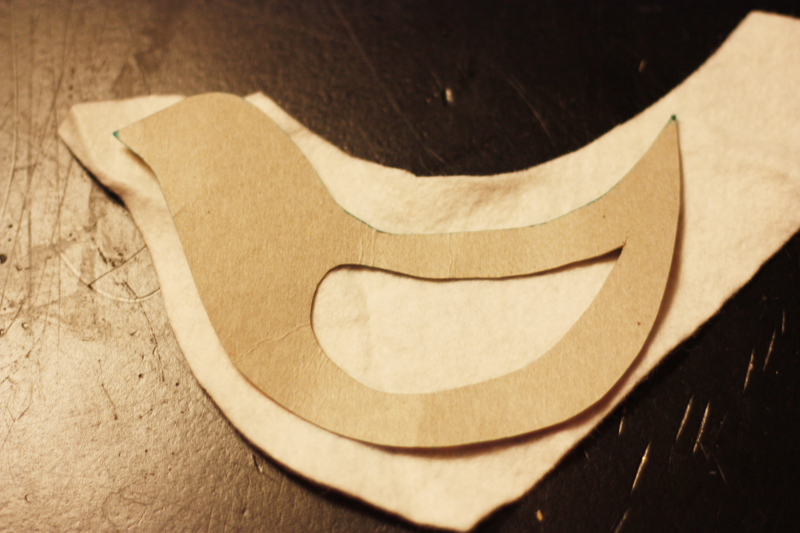
And then trace onto your white or cream felt.

Cut them both out. If you like to use pinking sheers, don't bother tracing the contrast and just place your white felt on top of the contrast (be smart, and pin -- don't follow my example) and then cut out your shape. This way your cutting will match up.

Pin your wing to the front of the bird and then stitch a black french knot for the eye. Only stitch through the front side for the eye and the wing (I took this picture holding the back on).

Using a color thread of your choice, stitch around the wing to attach it.

Here is a view of the backside.

The next step is to attach the contrast felt to the front of the bird. Stitch around the edges and then leave an opening to stuff in a little stuffing. My bird looks like he has some fuzz coming out of his bottom. When your bird is lightly stuffed (I prefer just a small amount), finish stitching him up.

Sew a string to the top so that it can hang. You will have to play around with the placement of your string, as the bird's center of gravity is not in the middle, but more towards his head.
You're done! Now that you are felt embroidery experts, you might want to try a few more Christmas ornaments.


A Grumpy Bear and a Christmas Ball.

Your child's hand. I actually made several of these for my kids, friends' kids and my nephew. Have fun with your new skill!
Okay.. so Amy.. I love that you did the hand. You are totally going to start crying when your children are off on their own and just you and Mike are there decorating your tree looking at all those cute little kid ornaments.
ReplyDeleteI really need to learn the knot so I can make some birds. I thought of you when I hung mine up :) Miss you!
ReplyDelete